

How we built a modular mine kit whose rock tunnels join without cracks
One shared tunnel profile, rock carved only into the walls and ends that match at every level of detail: how we built the Modular Mine Shaft Kit.
By AssetLoom Team, published , Updated , 5 min read
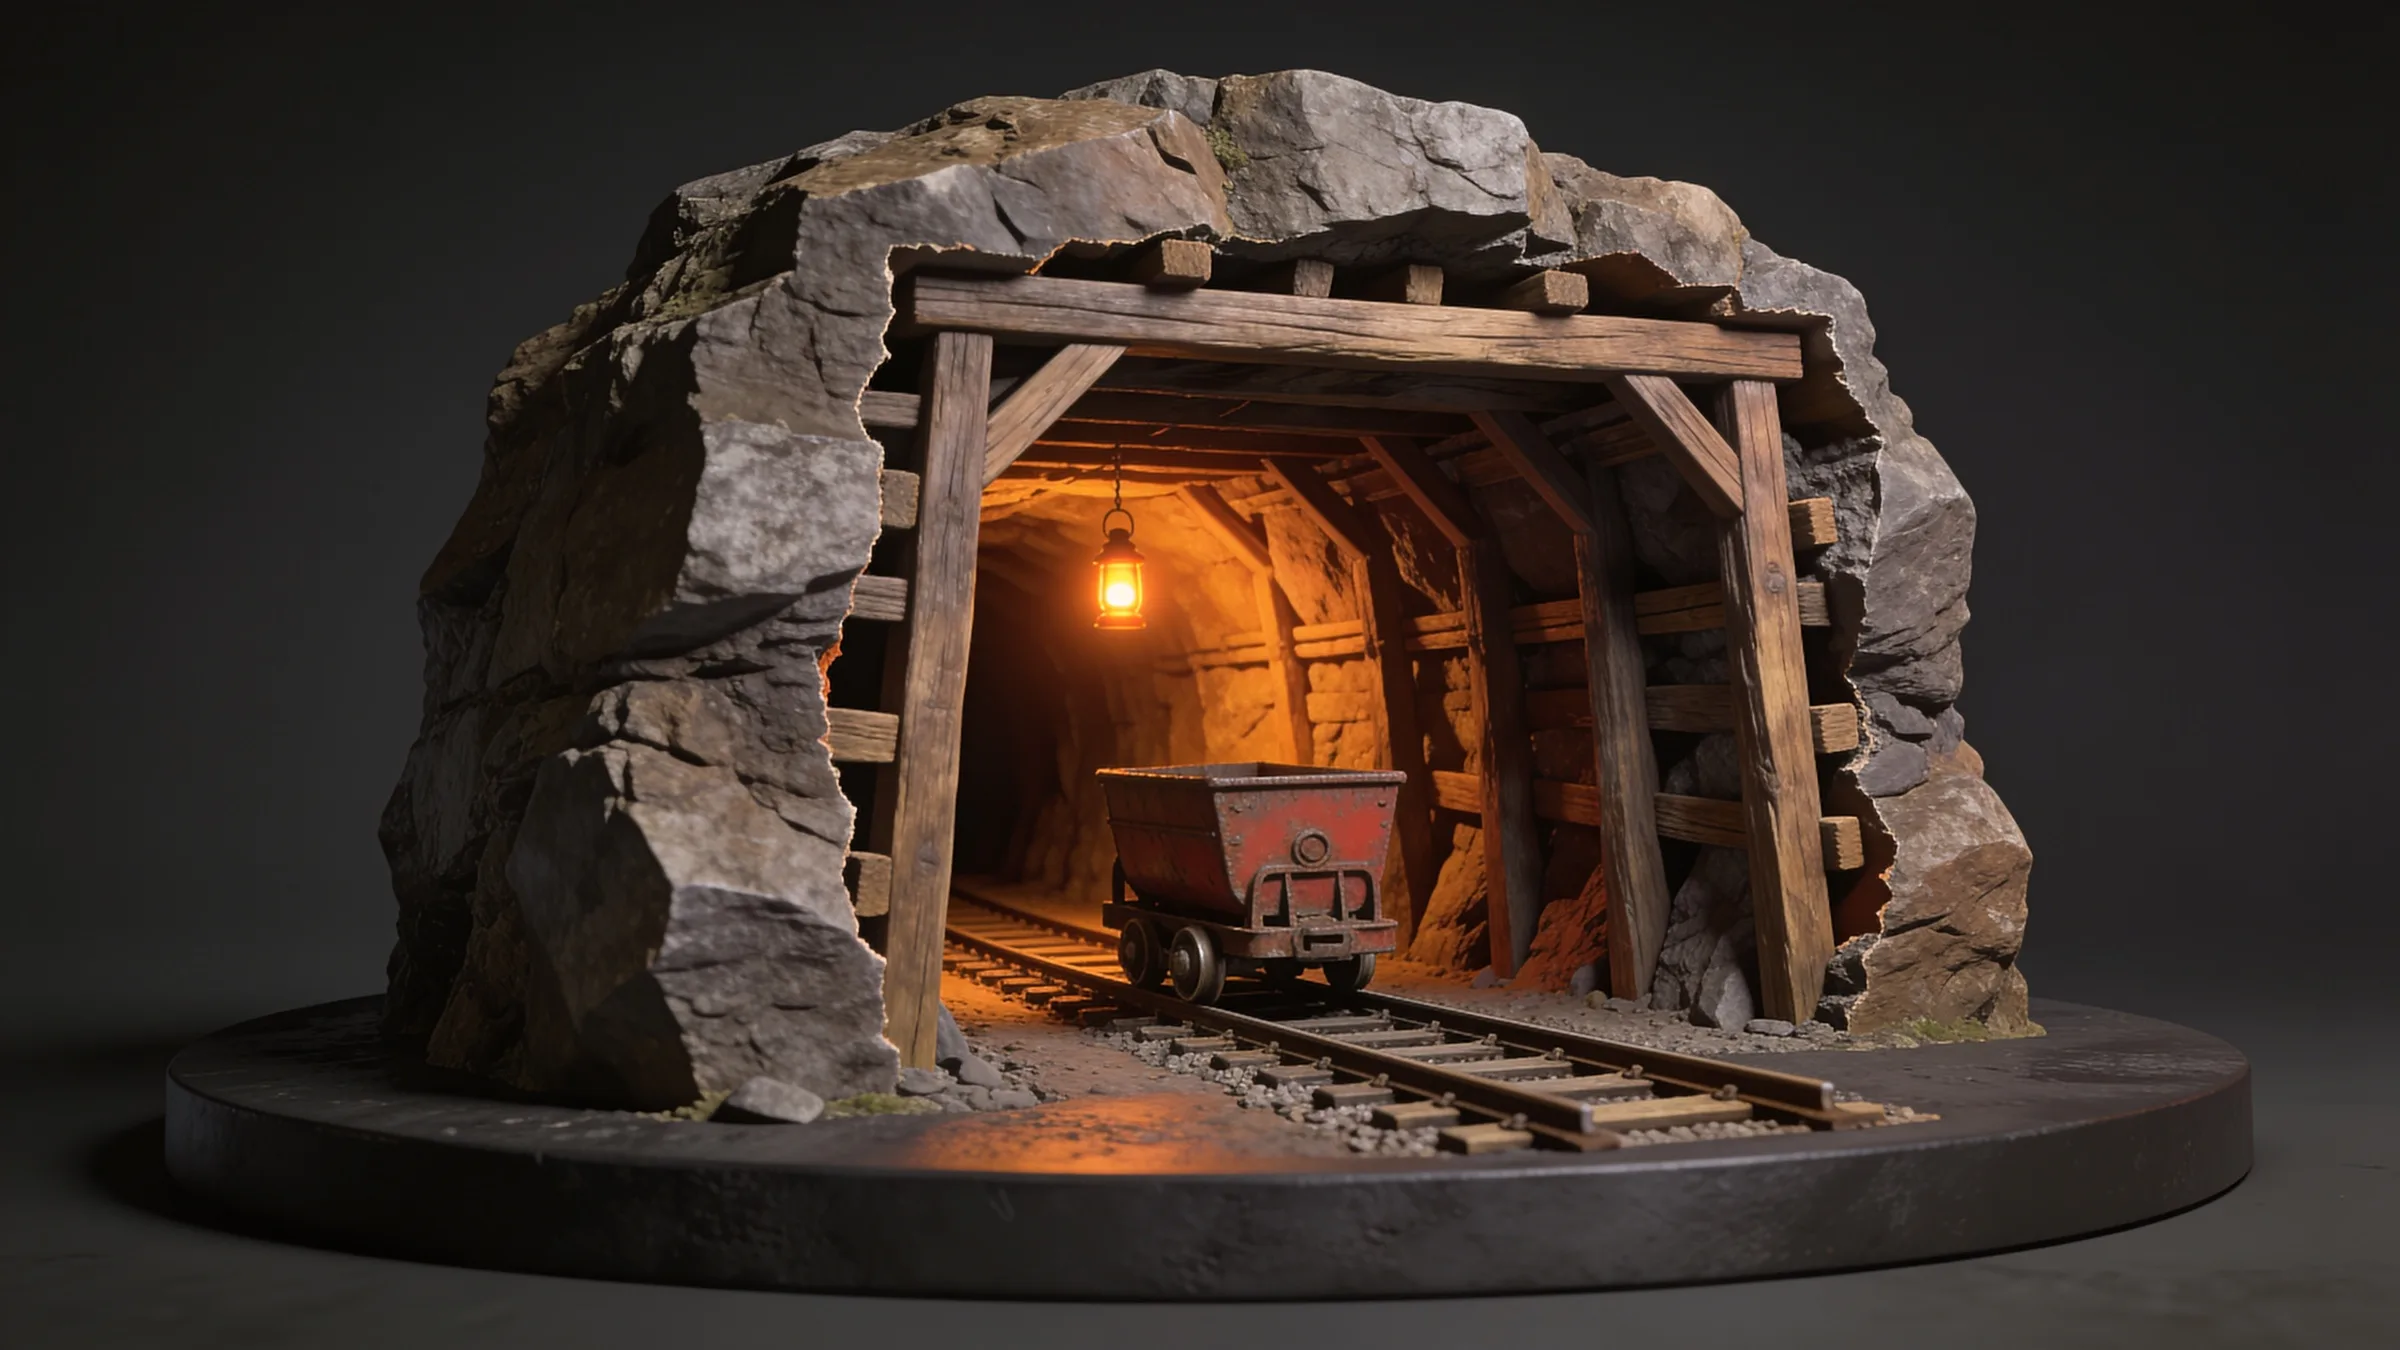
Our Modular Mine Shaft Kit went live this week: 24 pieces for underground mines, from rock tunnels and a stackable shaft to timbering, 600 mm track and a mine cart. The cart, track and props took care, but the hardest part by far was rock: tunnel tiles that snap together on a grid with no cracks at the joins, and still look like blasted rock rather than plaster. This post covers the rules behind the kit, how the joins stay clean, and what it means when you lay out a level with the kit.
Start with the grid and one end profile
A modular kit lives or dies by its rules. These are the ones the kit ended up with. Tunnel tiles are 5 m squares, levels are 4 m apart, and timber sets, track and props sit on a 2.5 m sub-grid inside each tile. Every rock tile has its pivot at the same corner on the tunnel floor, so rotating a tile in 90 degree steps is predictable.
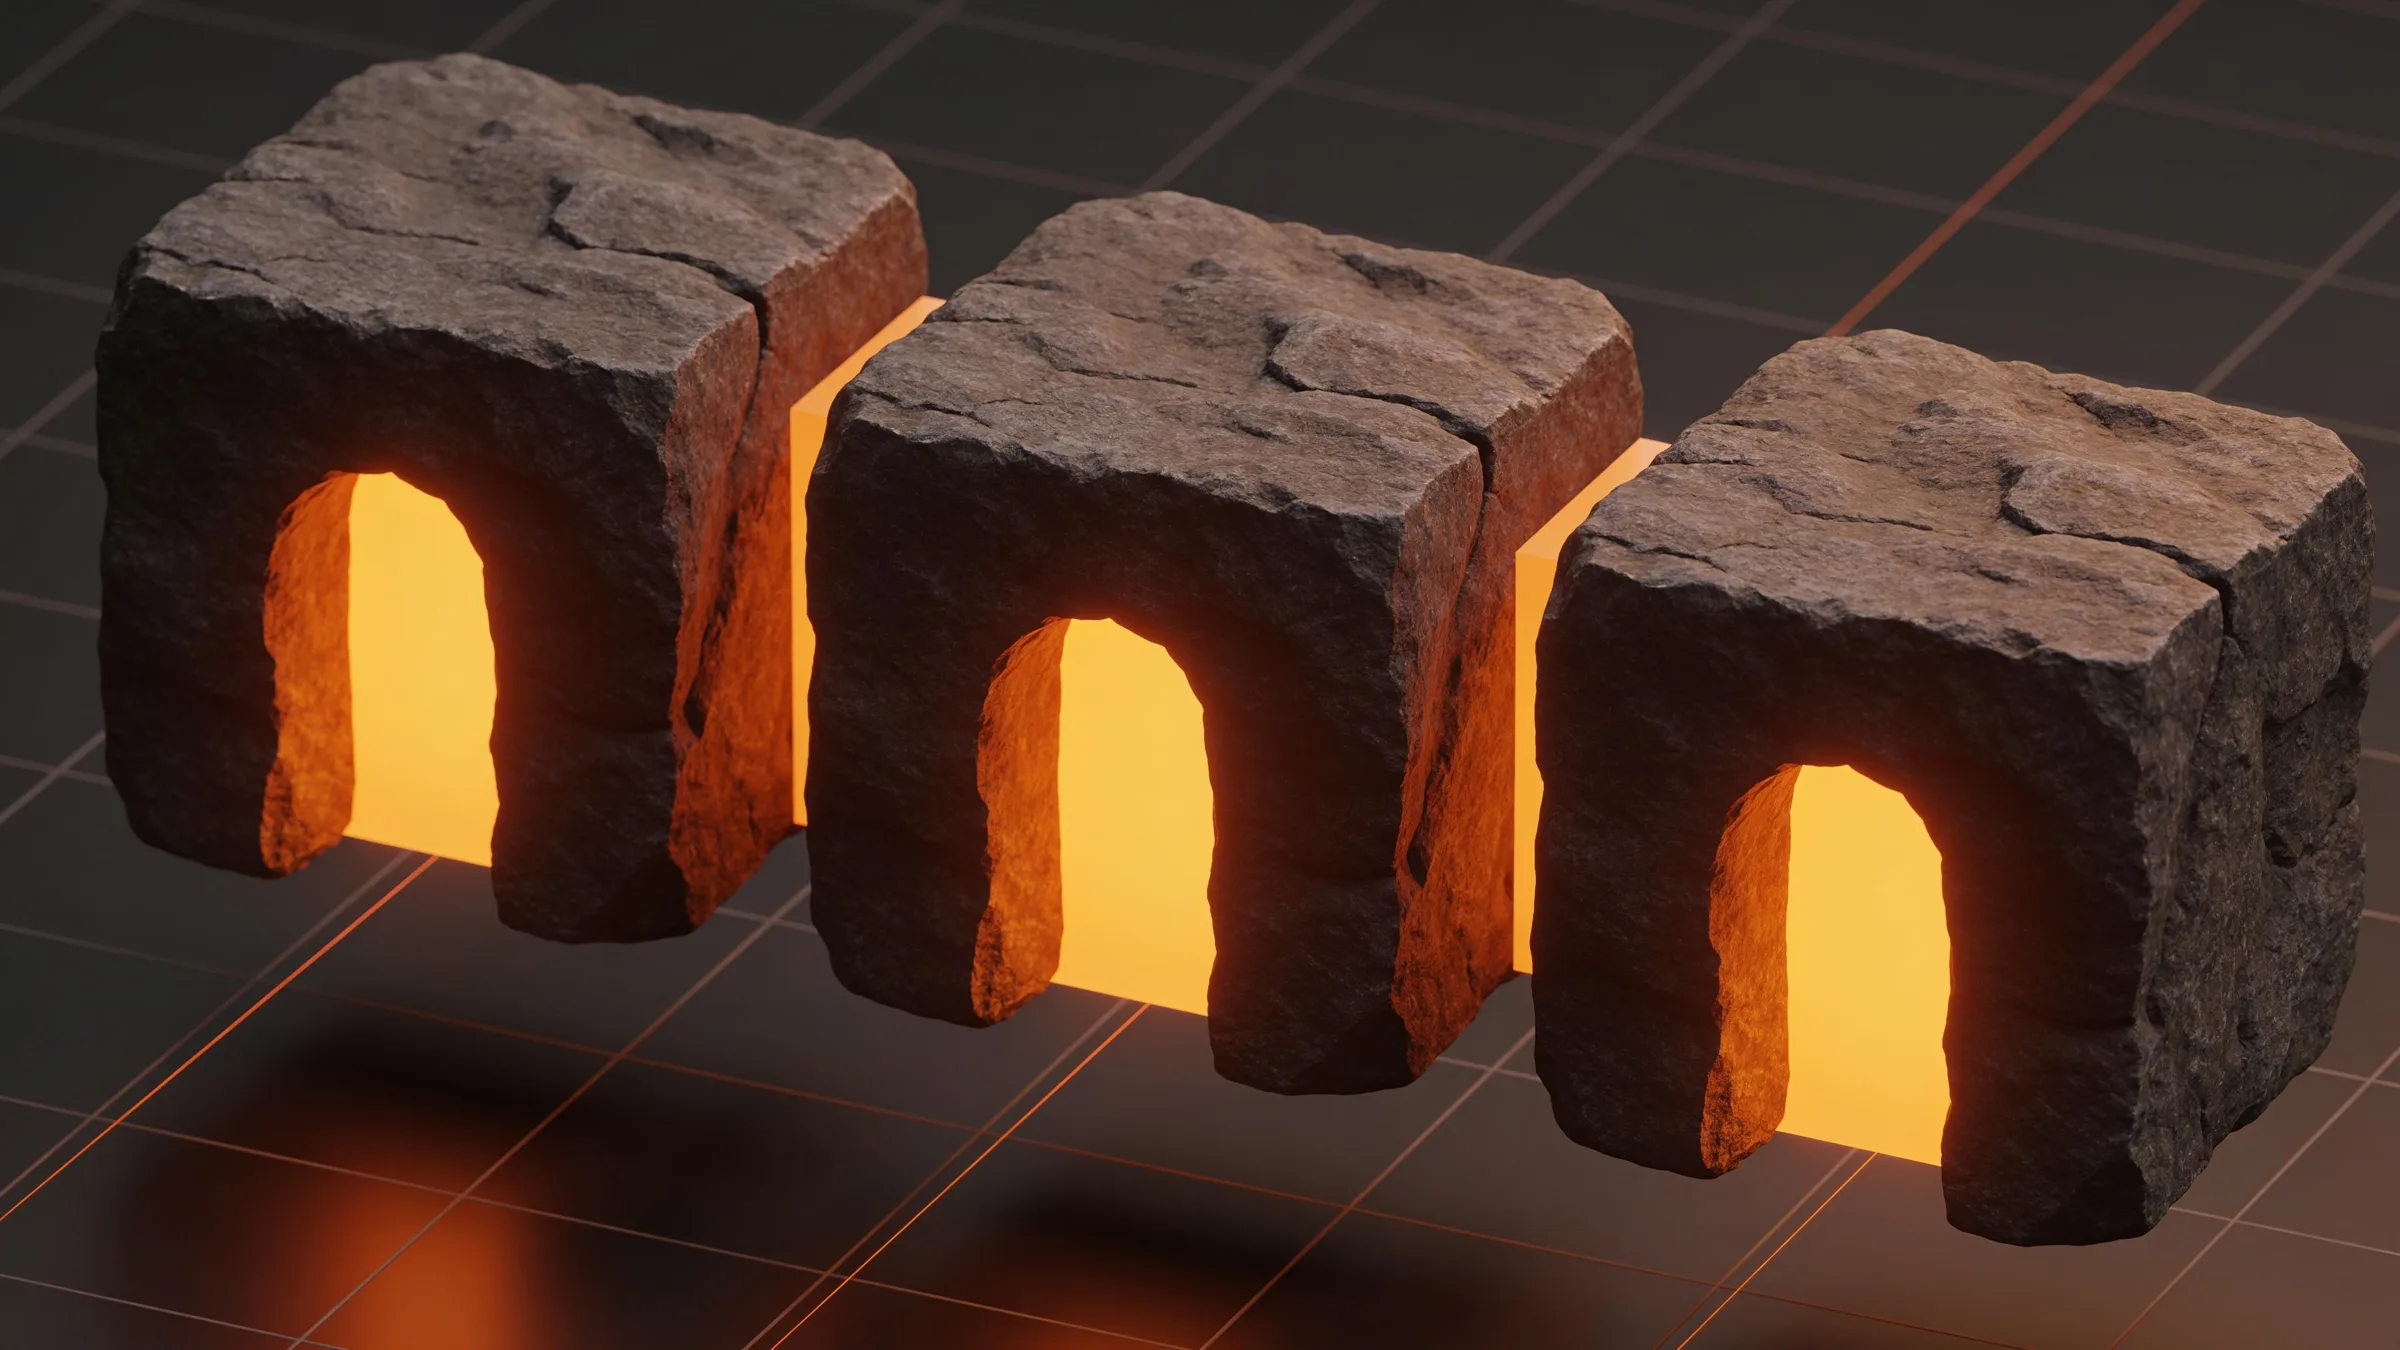
Then the most important rule: every open tunnel end, on every tile, uses one cut profile. The floor is 2.8 m wide, the walls are about 3 m apart and the crown is 3.0 m high, and each end is centred on a tile edge. Straight, corner, T junction, crossroads, dead end, incline, cave-in and the tile with a shaft opening all share it. The vertical shaft has its own shared ring, a 2.2 m rounded square, so shaft sections stack at 4 m steps and continue the shaft opening below them.
The 5 m grid pays off in the details: the rails, curves and inclines land on clean numbers (2.5 m straights, a 2.5 m curve radius, a 5 m incline that climbs 1 m).
Rough rock, exact ends
Every rock tile looks like rough, blasted rock in the middle and keeps the exact shared outline at every open end, however rough the rest of the tile is. The walls never come further into the tunnel than the shared profile, so a cart or prop placed for the profile will never clip a wall.
Rock that reads as rock
Early versions of the rock looked too smooth. The finished walls break into deep facets at more than one scale, with ledges, overhangs and small broken planes, while the tile ends stay identical.
Loose rubble and ore chunks are sharp, broken shards rather than soft blobs, so they read as broken rock at once.
A habit worth stealing
When a surface looks wrong and you can't say why, render it in plain grey clay with no textures. Many apparent texture problems are really geometry problems, and clay shows them in seconds.
Checking every join, at every level of detail
Matching ends by eye is not good enough, because even a tiny gap can show up as a flickering hairline in a game engine. Every tunnel, rail and shaft end matches exactly at every level of detail.
Collision follows the same thinking. Props get simple convex hulls. Rock tiles are concave (you walk inside them), so they ship a mesh collider made from the LOD2 shape, and the README explains how to use it as static mesh collision in Unity, Unreal and Godot.
Each piece was checked against our quality checklist before release, and two updates since launch have refined the T and crossroads corners, a few faces that baked black, the line where the walls meet the floor, and the lip of the shaft opening.
Previews that show the inside
A rock tunnel is a closed box from the outside, and our first 3D viewer showed exactly that: a dark block. The store page's 3D view is now a short 10 m scene with the rock cut away above 1.7 m, so you can orbit and see the dead end, straight, track, timbering, cart and props. The rock tile previews are taken from inside each tile. Every tile still ships as a full rock block; the cut is only in the preview.
Camera angles matter too. A low side shot of the cart made a correctly seated wheel look sunk into the rail, because the flange runs inside the rail and hides behind the rail head. We now show wheels on rails from a front three-quarter view, where you can see the tread sitting on the rail and the flange inside it.
What this means for you
If you build levels with the Modular Mine Shaft Kit, these are the habits that make it go smoothly:
- Set your grid snap to 5 m (500 units in Unreal) for rock tiles and 2.5 m for timber sets and track. Levels are 4 m apart; four incline tiles climb one level.
- When you rotate a rock tile, move its pivot to the matching corner (the README lists the offsets) so it stays in the same cell.
- Identical tiles repeat their baked rock. Turn tiles 180 degrees and mix pieces on long drives to break up the pattern.
- Use the rock tiles' mesh collider as static (complex) collision; use the convex hulls on props.
- In Unreal, use the DirectX normal maps included in the kit (or flip the green channel).
- Add your own lights at the lanterns: the flames are simple emissive shapes, and the warm light in the previews is render-only.
- Plan for the download: about 1.4 GB zipped, because rock tiles and timber sets carry 4K colour and normal maps.

- Interactive 3D preview
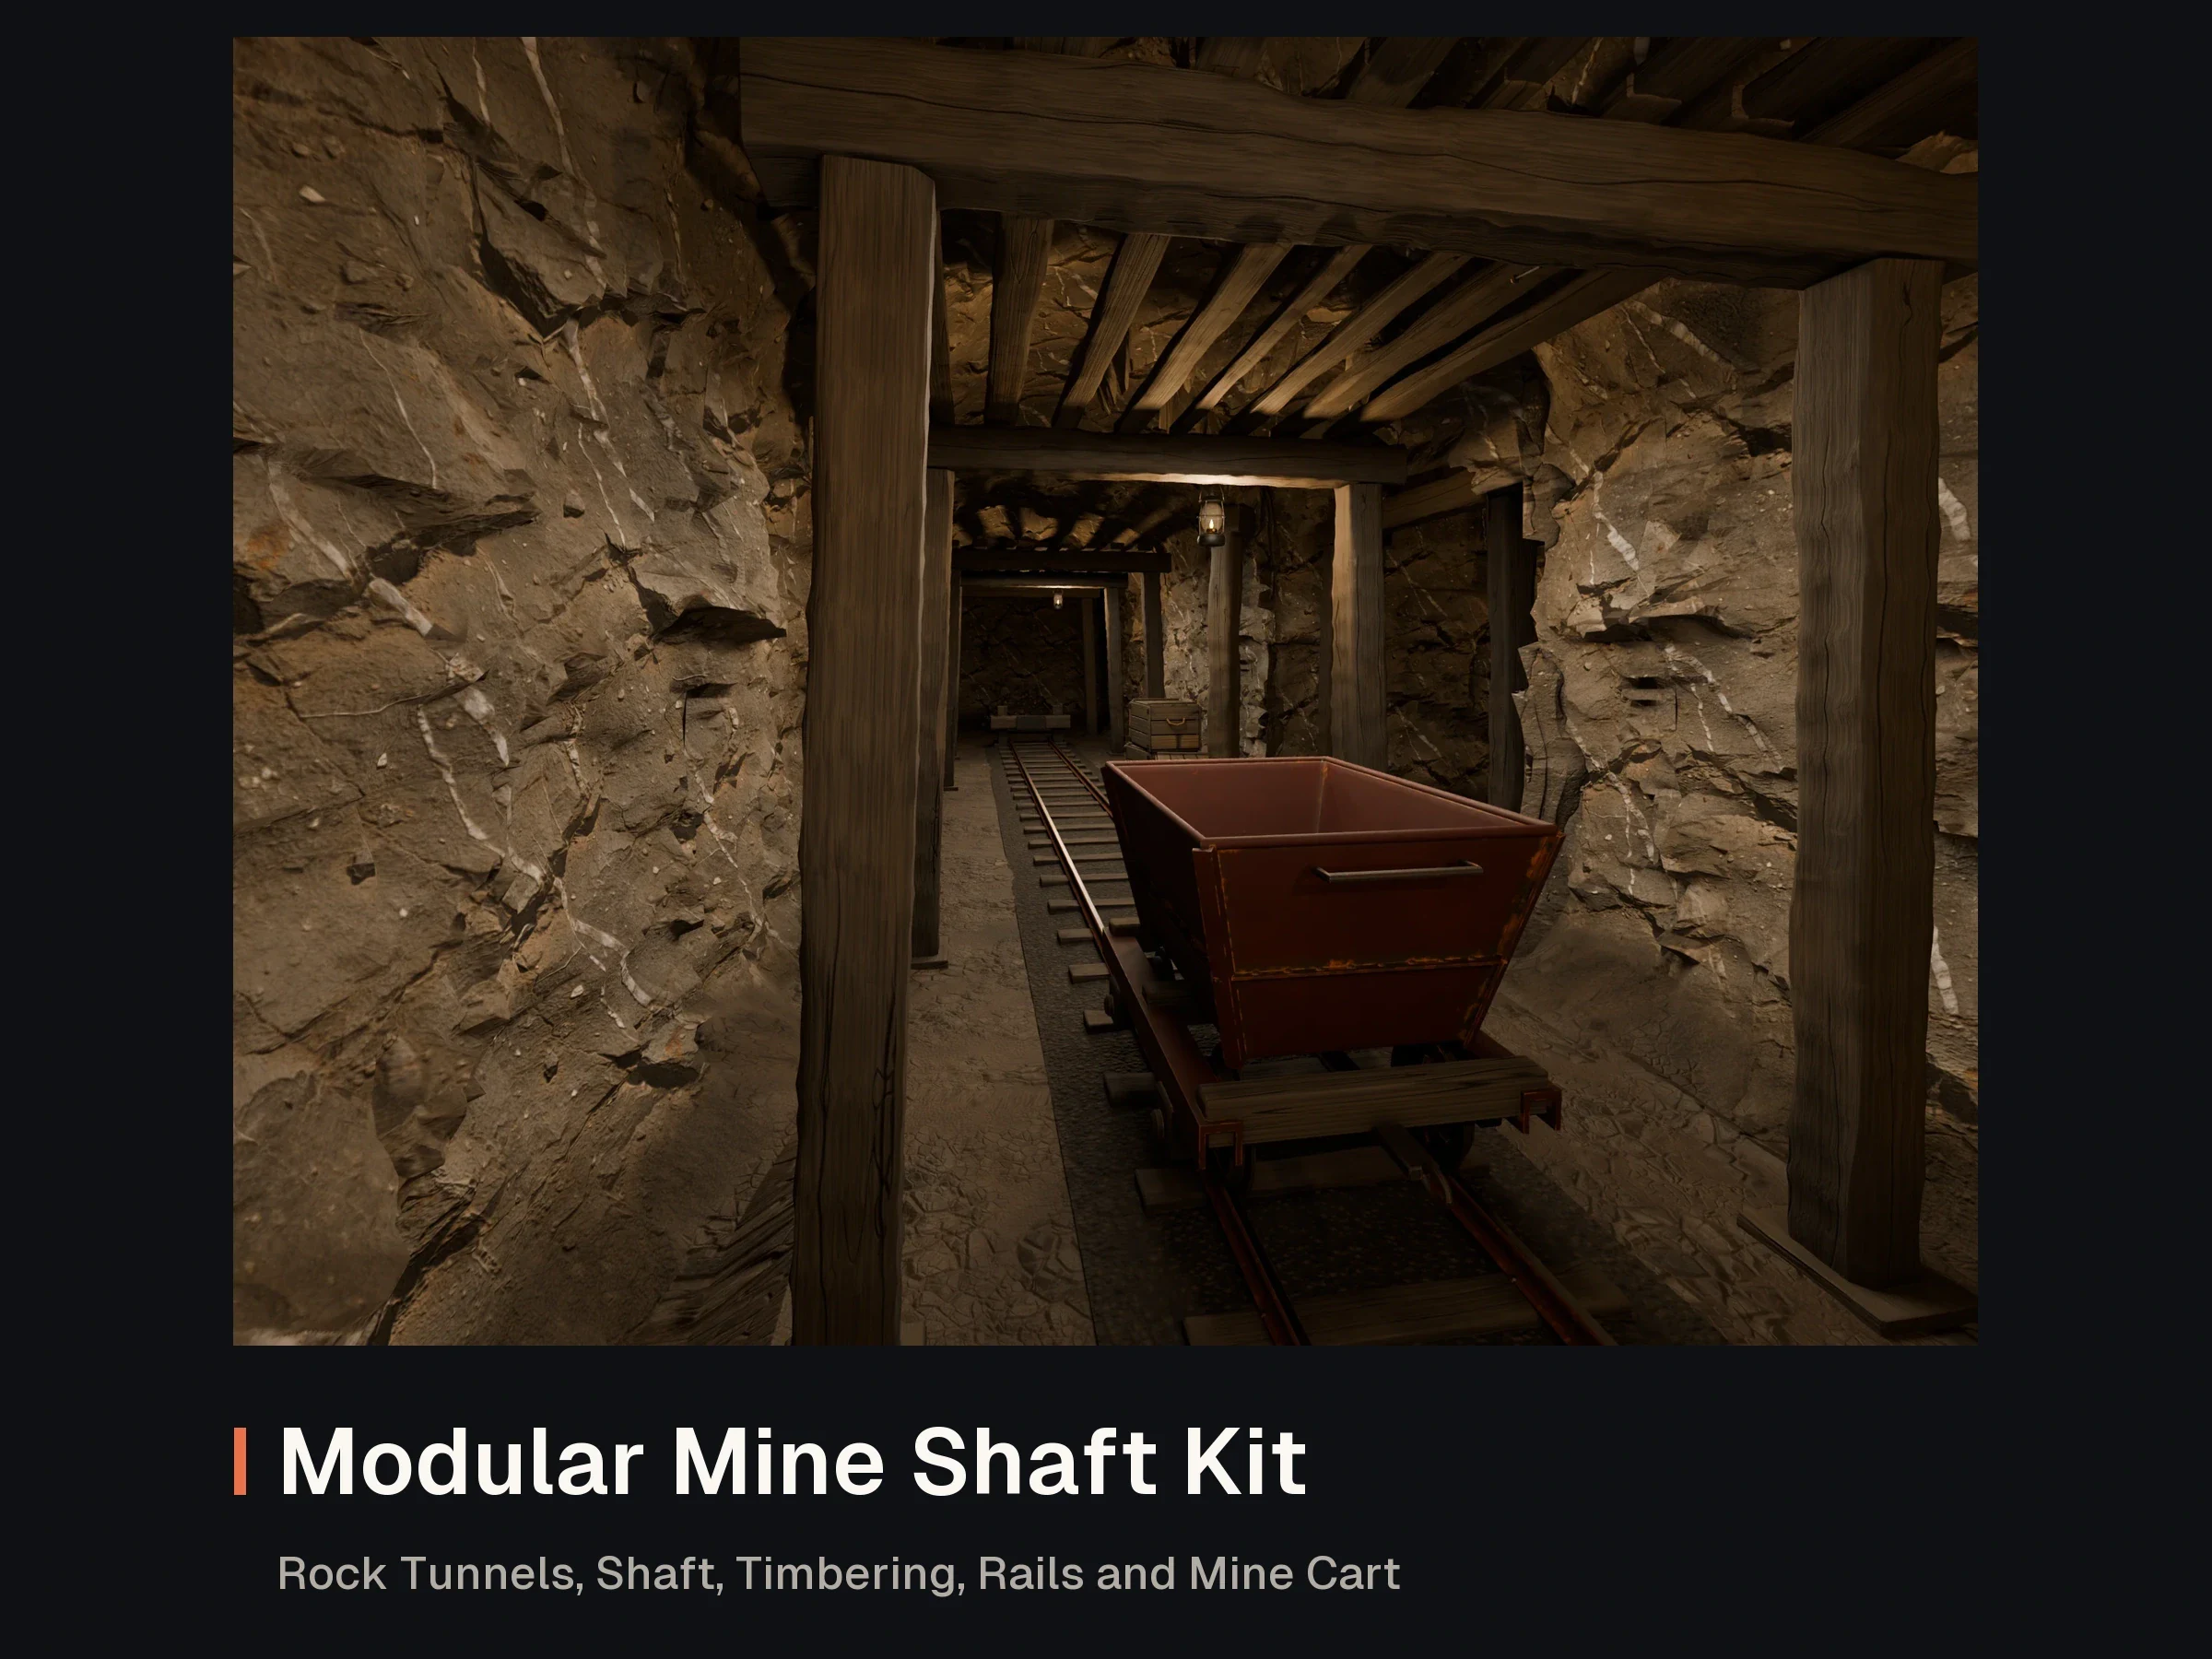
Modular Mine Shaft Kit: Rock Tunnels, Shaft, Timbering, Rails and Mine Cart
FBX · GLB · PNG · BLEND
- 1
- 1
Spotted a mistake or have a question? Email support@assetloom.io.
More from the blog
All posts
AI & industry
Unreal Engine 5.9 Preview puts AI agents in the editor: what game developers should know
Epic's Unreal Engine 5.9 MegaJam Preview adds editor AI agents, Unreal Canvas for generated meshes and AI animation. What shipped and what to check.
, 6 min read

Behind the build
How we make animation clips that chain, loop and keep hands on the body
One shared idle, Start/Loop/End clips and hands that stay on the skin: how we build humanoid clip packs with no pops at the seams, and what you can reuse.
, 7 min read

AI & industry
Half of October's new Steam games disclosed AI content: what Steam asks and how to be ready
49.9% of October 2026's new Steam games disclosed AI content. What Steam's AI disclosure asks, what Valve said, and how to keep a provenance record.
, 6 min read